
Here’s something I tell every homeowner who calls me about sugar ants in the kitchen: the moment you see them marching across your counter, they’ve already been in your home for a while. What you’re watching isn’t the beginning of the problem it’s just the first time you’ve noticed it.
I had a call last spring from a homeowner in Mississauga who had already gone through two cans of ant spray, a box of baking soda, and half a bottle of peppermint oil trying to fix a sugar ant infestation in her kitchen. She’d wiped the trails, sprayed the counter, and watched them disappear only for a fresh line of ants to appear two days later from a completely different spot. She was exhausted and convinced the ants were somehow immune to everything she’d tried.
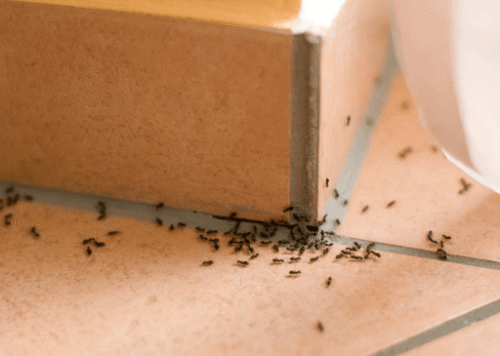
They weren’t. She was just treating the symptom instead of the source and worse, she was cleaning the scent trail before she’d traced it. Every time she wiped that trail, the colony simply regrouped, found a new crack, and rebuilt a fresh route into her kitchen within twenty-four hours.
That’s the mistake. And in fifteen years of pest control work across Toronto, Brampton and Mississauga, it’s the single most common reason DIY ant treatment fails. This guide will walk you through the right approach, the one that actually eliminates the colony, not just the ants you can see.
What Exactly Are Sugar Ants?
Let me clear something up first, because it matters for how you treat them.
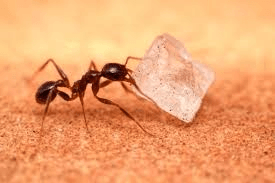
“Sugar ant” is not a scientific species name, it’s a colloquial term Canadians use to describe any small ant that invades the kitchen in search of sweets. In the GTA, the species most commonly hiding behind that label are the odorous house ant (Tapinoma sessile) and the pavement ant (Tetramorium caespitum). You might also encounter little black ants or, less commonly, Argentine ants.
Here’s why this matters: while all of these ants share a love of sugar and a talent for finding the tiniest gap into your home, they nest in slightly different places and respond best to slightly different bait formulations. Odorous house ants, named for the faint coconut-like smell they release when crushed, often nest inside wall voids, under floors, and in insulation. Pavement ants build their colonies under concrete slabs, sidewalks, and foundation stones.
In both cases, what you’re seeing in your kitchen are forager ants workers sent out from the colony to locate food and water and bring it back. The actual colony, with its queen and thousands of workers, is elsewhere outside under your walkway, inside your wall, or under the slab of your garage floor.
Killing the foragers you can see does nothing to the colony. New foragers take their place within hours. This is why ant spray feels satisfying in the moment and useless by the next morning.
Step 1 — Do NOT Clean the Trail. Follow It First.
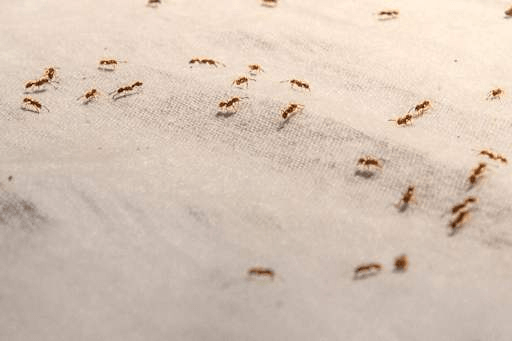
I know this goes against every instinct. You see a line of ants marching across your kitchen counter and you want to wipe it up immediately. Don’t.
That ant trail is the most valuable piece of information you have. Ants communicate through pheromones, invisible chemical signals left behind by forager ants to guide other workers from the colony to the food source and back. The trail you can see is essentially a living map of where the ants are entering your home and which direction their colony is in.
Before you clean anything, follow that trail. Get down and trace it carefully: along the counter, down the cabinet side, across the floor, behind the fridge, under the stove, along the baseboard. Keep following it until you find where it disappears, either into a crack in the baseboard, a gap around a pipe penetration, a space beneath the door sweep, or through a gap where the counter meets the wall.
Mark that entry point. A small piece of tape works fine. That’s where your treatment needs to happen.
Only after you’ve mapped the trail and marked the entry point should you clean it. Use equal parts white vinegar and water in a spray bottle; this both removes the pheromone trail and acts as a mild deterrent for a short period, buying you time to set up proper treatment.
In Scarborough last summer, I had a client who had been fighting kitchen ants for three weeks. She’d been wiping the counter every day. When I arrived, I followed the trail she’d disturbed and traced it behind the dishwasher, under a baseboard gap, and out to a pavement ant colony nesting under her front walkway, about eight metres from her kitchen. We treated the entry point and the outdoor nest, and the problem was resolved within ten days. She’d never known the nest was outside.
Step 2 — Find and Eliminate the Hidden Food Sources
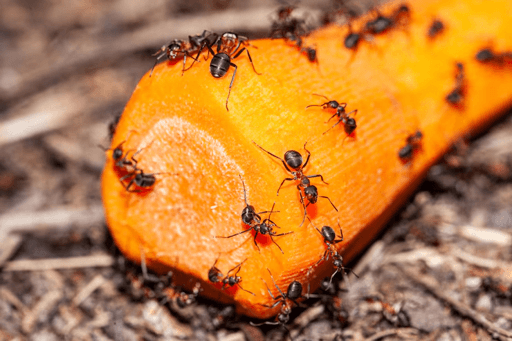
Here’s something that surprises a lot of homeowners: sugar ants can sustain an entire colony on food residue that’s completely invisible to you. I’ve tracked ant trails to some truly unexpected spots over the years.
A sticky ring on the underside of a honey jar that’s been sitting on the same shelf for six months. Syrup that seeped under a toaster and dried in the heating element base. A film of juice residue in the bottom of the recycling bin. Pet food crumbs under the lip of a stainless steel dog bowl. The residue inside an empty sauce bottle waiting to be recycled. Grease buildup along the inside edge of a cabinet door where your hand touches it every day.
Any of these can feed a foraging ant colony. Here’s the deep-clean checklist I give every client before we apply any treatment:
Pull major appliances away from the wall fridge, stove, and dishwasher and clean underneath and behind them thoroughly. Crumb trays in toasters and under stove burners are especially productive for ants. Remove them and wash them.
Degrease the inside edges of all cabinet doors and the undersides of shelves. Use a degreasing kitchen cleaner, not just a quick wipe. The residue that accumulates where cabinet doors meet the frame is invisible but loaded with sugary traces.
Rinse every item in your recycling bin before it goes in soda cans, juice bottles, syrup containers. Even a thin residue of sugary liquid inside a can is enough to attract foragers.
Transfer everything from its original packaging into airtight containers sugar, flour, cereals, oats, biscuits, honey, syrup. The factory packaging that dry goods come in is not ant-proof. Not even close.
Fix any dripping taps immediately. This surprises people, but moisture attracts ants as reliably as sugar does. A slow drip under your kitchen sink creates a water source that’s just as attractive to a colony as a spilled juice puddle.
Wipe down the undersides of your cabinets monthly, not just the tops and fronts. And empty your kitchen bin daily during an active infestation even a sealed bag with food inside creates a scent that draws foragers in.
Step 3 — Bait Correctly. This Is Where Most People Go Wrong.
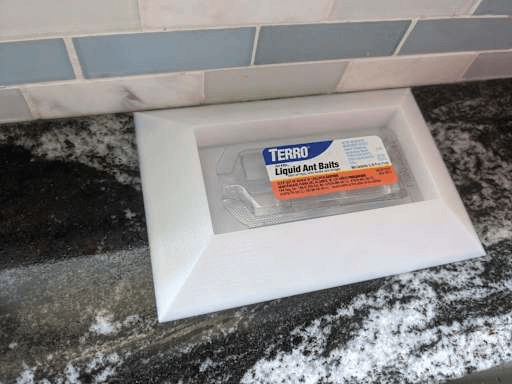
Once you’ve mapped the trail, marked the entry point, and removed the food sources, now it’s time to bait. And this is where almost every DIY attempt either succeeds or fails completely.
The most effective treatment for sugar ant infestations is slow-acting liquid ant bait containing borax. Products like TERRO Liquid Ant Bait work on a beautifully simple principle: the bait is mixed with just enough borax to be lethal after a delay of twenty-four to forty-eight hours, but not enough to kill an ant before it returns to the colony. The forager ant feeds on the bait, carries it back, shares it with nestmates and larvae through normal feeding behaviour, and the poison spreads through the colony, eventually reaching the queen.
Place bait stations directly beside the trail not on top of it (which breaks the trail and disrupts forager behaviour), and not randomly around the kitchen. Right beside the trail, near the entry point you’ve marked. The ants need to find the bait easily during their normal route.
Here’s something that panics people who don’t know to expect it: when the bait is working, the number of ants temporarily increases. You may see more ants around the bait station in the first twenty-four to forty-eight hours than you saw before you started. This is a good sign. It means foragers have found the bait and are recruiting more workers to carry it back. Do not wipe the bait away. Do not spray the ants around the bait. Leave it completely alone.
Resist the urge to spray. I cannot stress this enough. Using a repellent ant spray while bait is deployed is one of the most counterproductive things you can do, it scatters the ants, breaks the trail, and prevents them from finding and carrying the bait. You end up with a stressed, fragmented colony that rebuilds somewhere new.
For a homemade alternative, a solution of borax at 0.5 to 1% concentration mixed with sugar water works on the same principle as commercial bait. Use one part borax to ninety-nine parts sugar water too much borax kills ants before they return to the colony and the treatment fails. Soak a cotton ball in the solution and place it near the trail entry point.
Replace bait stations every few days or when they’re empty. A full treatment cycle typically runs seven to fourteen days.
Step 4 — Seal the Entry Points
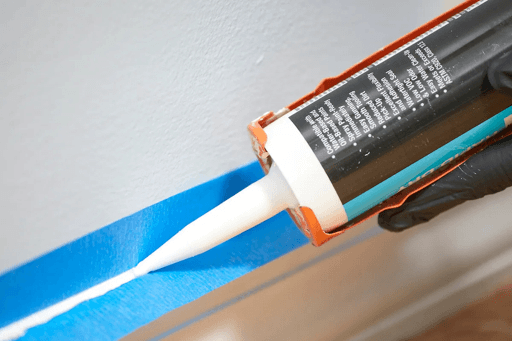
Once the bait has done its work, you’ll know because the number of ants visiting the bait drops to zero and stays there, it’s time to permanently seal the entry points you found in Step 1.
Caulk is your primary tool here. Apply a bead of silicone caulk along the inside edge of baseboards where they meet the floor, around pipe penetrations under the sink and behind the stove, around the bottom of door frames, and along any gap where cabinetry meets the wall. Pay particular attention to areas where different materials meet, where tile meets drywall, where wood meets concrete, where a countertop meets the backsplash. These transition points are where ants enter the house most commonly.
Check the exterior of your home as well. Walk around the foundation and look for cracks in the mortar, gaps around utility penetrations (where electrical, gas, and plumbing lines enter the foundation), deteriorated weather stripping on doors and windows, and any point where soil contacts wood. Ants exploit these entry points from outside.
In the GTA, pavement ant colonies often nest directly under concrete slabs, steps, and walkways that are in contact with your foundation. If you see small piles of fine soil or sand pushing up through cracks in concrete near your home, that’s a pavement ant colony working right underneath. Treating that exterior colony with a perimeter insecticide in addition to the interior bait treatment dramatically improves long-term results.
Natural Remedies — What Actually Works and What Doesn't
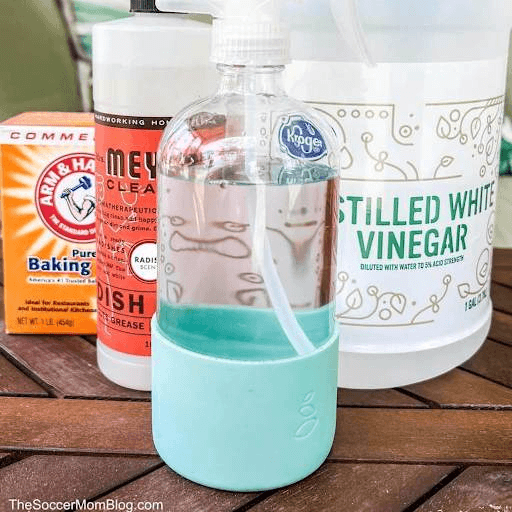
I get asked about natural remedies on almost every call, so let me give you an honest assessment from someone who has seen what works in real homes.
White vinegar spray genuinely useful for disrupting the pheromone trail and cleaning scent residue from surfaces. Not a treatment on its own, but a valuable step in the process. Use it to clean trails after you’ve traced them, and to wipe down countertops and shelves during an infestation.
Dish soap and water spray kills ants on contact by breaking down their exoskeleton, but does nothing to the colony. Useful for cleaning up a group of ants quickly, not for solving the problem.
Diatomaceous earth (food-grade) works by physically damaging the ant’s exoskeleton and causing dehydration. Apply a thin layer along baseboards and around entry points. It’s non-toxic to humans and pets when used as directed, and it’s effective as a supplementary barrier. It does not kill quickly, and it’s ineffective when wet, which limits its usefulness in kitchen environments. Best used along dry baseboards and in dry cabinet interiors.
Coffee grounds, bay leaves, cinnamon, black pepper, cucumber peels, these are repellents that may deter ants from crossing a treated area, but they do not eliminate a colony and they do not solve a serious infestation. Think of them as mild deterrents for a home that’s already clean and well-sealed, not as treatment tools.
Peppermint oil and neem oil , both have some repellent properties. Dilute and spray along baseboards and around entry points. Again, useful as prevention once the infestation is resolved, not as primary treatment.
Lemon juice the acidity disrupts scent trails similarly to vinegar. Spray along ant routes after tracing them.
The honest summary: for a mild, early-stage sugar ant problem, just a few scouts appearing in the kitchen, a combination of deep cleaning, natural repellents, and airtight food storage may be enough. For any established infestation, you need slow-acting bait targeting the colony. Natural repellents alone will not eliminate a colony.
Quick Identification Table — Sugar Ant Signs by Severity
| What You’re Seeing | What It Means | Recommended Action |
|---|---|---|
| 1–5 ants occasionally near sink or counter | Early scouts — colony nearby but not established inside | Deep clean, vinegar spray, seal any visible gaps |
| Active trail of ants on counter or floor | Established foraging route — food source located | Trace trail, remove food sources, deploy bait |
| Multiple trails from different entry points | Large or multiple colonies | Bait all active trails, professional inspection advised |
| Ants inside sealed cabinets or pantry | Colony potentially nesting inside wall void | Professional treatment — interior nest suspected |
| Ants returning within days of treatment | Colony not eliminated — entry point or food source missed | Re-trace, check under appliances, call professional |
| Ants in kitchen with no obvious food source | Moisture source attracting them (leaking pipe, damp wood) | Check under sink, behind dishwasher, treat moisture first |
Ontario-Specific Seasonal Patterns — When Sugar Ants Are Worst
This is something I never see explained for Canadian homeowners specifically, and it’s worth knowing.
In Ontario, sugar ant activity peaks between April and September. As temperatures warm after the long winter, ant colonies become active, populations grow, and foragers begin expanding their search range which is when they find their way into our kitchens. The transition period in early spring, when outdoor food sources haven’t fully emerged yet, is when colonies are most aggressively seeking anything they can find inside.
Late summer, July through September is the second peak of activity in the GTA. Colony populations are at their largest and forager pressure is high. This is also when homeowners leave windows open more, creating additional entry opportunities.
After the first hard frost in October, ant colonies in Ontario retreat and foraging stops almost entirely. This makes autumn the ideal time to do thorough exclusion work, sealing cracks and entry points while ants are inactive to prevent the spring surge from reaching your kitchen at all.
I always recommend a walk-around of your home’s exterior in September or October every year: fresh caulk around any gaps in the foundation, weather stripping on exterior doors, and a check of the eavestroughs and window frames. Thirty minutes of prevention work in the fall genuinely prevents the panicked calls I get every May.
When to Call a Professional
Here’s my straightforward answer: if you’ve done everything in this guide, traced the trail, deep-cleaned the kitchen, deployed bait correctly, and sealed the entry points and you’re still seeing active ant trails in your kitchen after two weeks, call a professional.
A few specific situations where DIY treatment is unlikely to be enough:
You’re finding ants inside sealed upper cabinets that have no obvious entry point from below. This usually means a colony is nesting inside a wall void or above the ceiling in which case the colony needs to be located and treated directly, which requires professional access.
You’ve treated successfully, but the same infestation returns every spring. This typically means there’s an outdoor colony under your walkway, your driveway slab, or your foundation that keeps sending new foragers in. A perimeter treatment by a professional creates a chemical barrier the colony can’t cross.
You’re seeing multiple independent trails from different parts of the kitchen simultaneously. This can indicate a large established colony inside the structure itself, or multiple colonies outside accessing through different points.
At Pest Removal Toronto, every kitchen ant inspection starts with a proper trail trace, the same process I’ve described in this guide, but with the experience to know what to look for in spots most homeowners miss. We identify the species, locate the colony, treat both the interior trails and the exterior nest source, and seal the primary entry points before we leave
Prevention — Keeping Sugar Ants Out for Good
Call a professional if ants are still active after 2 weeks of proper DIY treatment.
- Ants inside sealed upper cabinets usually indicate a nest inside wall voids or ceilings.
- Recurring infestations every spring often mean there’s an outdoor colony near the foundation, walkway, or driveway.
- Multiple ant trails from different areas may signal a large indoor colony or several outdoor colonies.
- Professional treatment helps locate the main colony source, not just the visible trails.
- Experts can apply perimeter treatments to stop ants from re-entering the home.
- A proper inspection includes:
- Identifying the ant species
- Tracing active trails
- Locating indoor and outdoor nests
- Treating infestation sources
- Sealing major entry points
The Bottom Line
Sugar ants in your kitchen are frustrating, but with the right approach, they’re usually easy to eliminate. First, trace the ant trail before cleaning, then remove food sources, use slow-acting bait properly, and seal entry points once the colony is gone. If ants keep returning every spring, there’s likely an outdoor colony that requires professional treatment from Pest Removal Toronto.
Why do I have ants in my kitchen but no food left out?
Two most likely answers: there’s a food source you haven’t found yet under an appliance, inside a recycling container, or in the residue under a jar or moisture is the attractant rather than food. Check for dripping pipes, condensation, or dampness under the sink and behind the dishwasher. Ants need water, and a reliable drip can attract them even when the kitchen looks spotless.
Why do I see more ants after putting down bait?
This is normal and it means the bait is working. Forager ants have found the bait and are recruiting additional workers to carry it back to the colony. Do not disturb the bait or spray the ants around it. Give it forty-eight to seventy-two hours.
What's the fastest way to kill sugar ants instantly?
A direct spray of dish soap and water or commercial ant spray will kill the ants you can see immediately. But understand that this does nothing to the colony, and new foragers will take their place within hours. Killing visible ants quickly and eliminating the infestation are two different goals, only slow-acting bait achieves the second.
How long does it take to get rid of sugar ants completely?
With correct bait placement and food source removal, most kitchen ant infestations resolve within seven to fourteen days. If the colony is large or nesting inside the structure, it may take up to three weeks. Recurring infestations that resolve and return each spring typically require professional exterior treatment of the source colony